You wouldn’t start a road trip without mapping out the route beforehand, you wouldn’t begin writing a novel without first developing the characters and coming up with a plot and you wouldn’t start cooking a new recipe without buying all the necessary ingredients needed at the outset. Like any project worth doing, DIY starts with a solid foundation. Whether you’re tearing out multiple rooms at once or keeping things simple with just a fresh lick of paint, any project large or small requires an element of thought and preparation before you dive in headfirst, paint brush flailing.
We get it, prep work is hardly the most enjoyable of activities, some might even find it tedious, while others may ask if it’s really necessary, instead eager to get to the fun part. Well, we’re here to tell you, YES, it is, and if you follow our advice, you’ll thank us later. Most paints will highlight rather than disguise any flaws and irregularities that are under the surface. Meaning that good prep work will ensure the best-looking walls once done, which after all, is the goal, right?
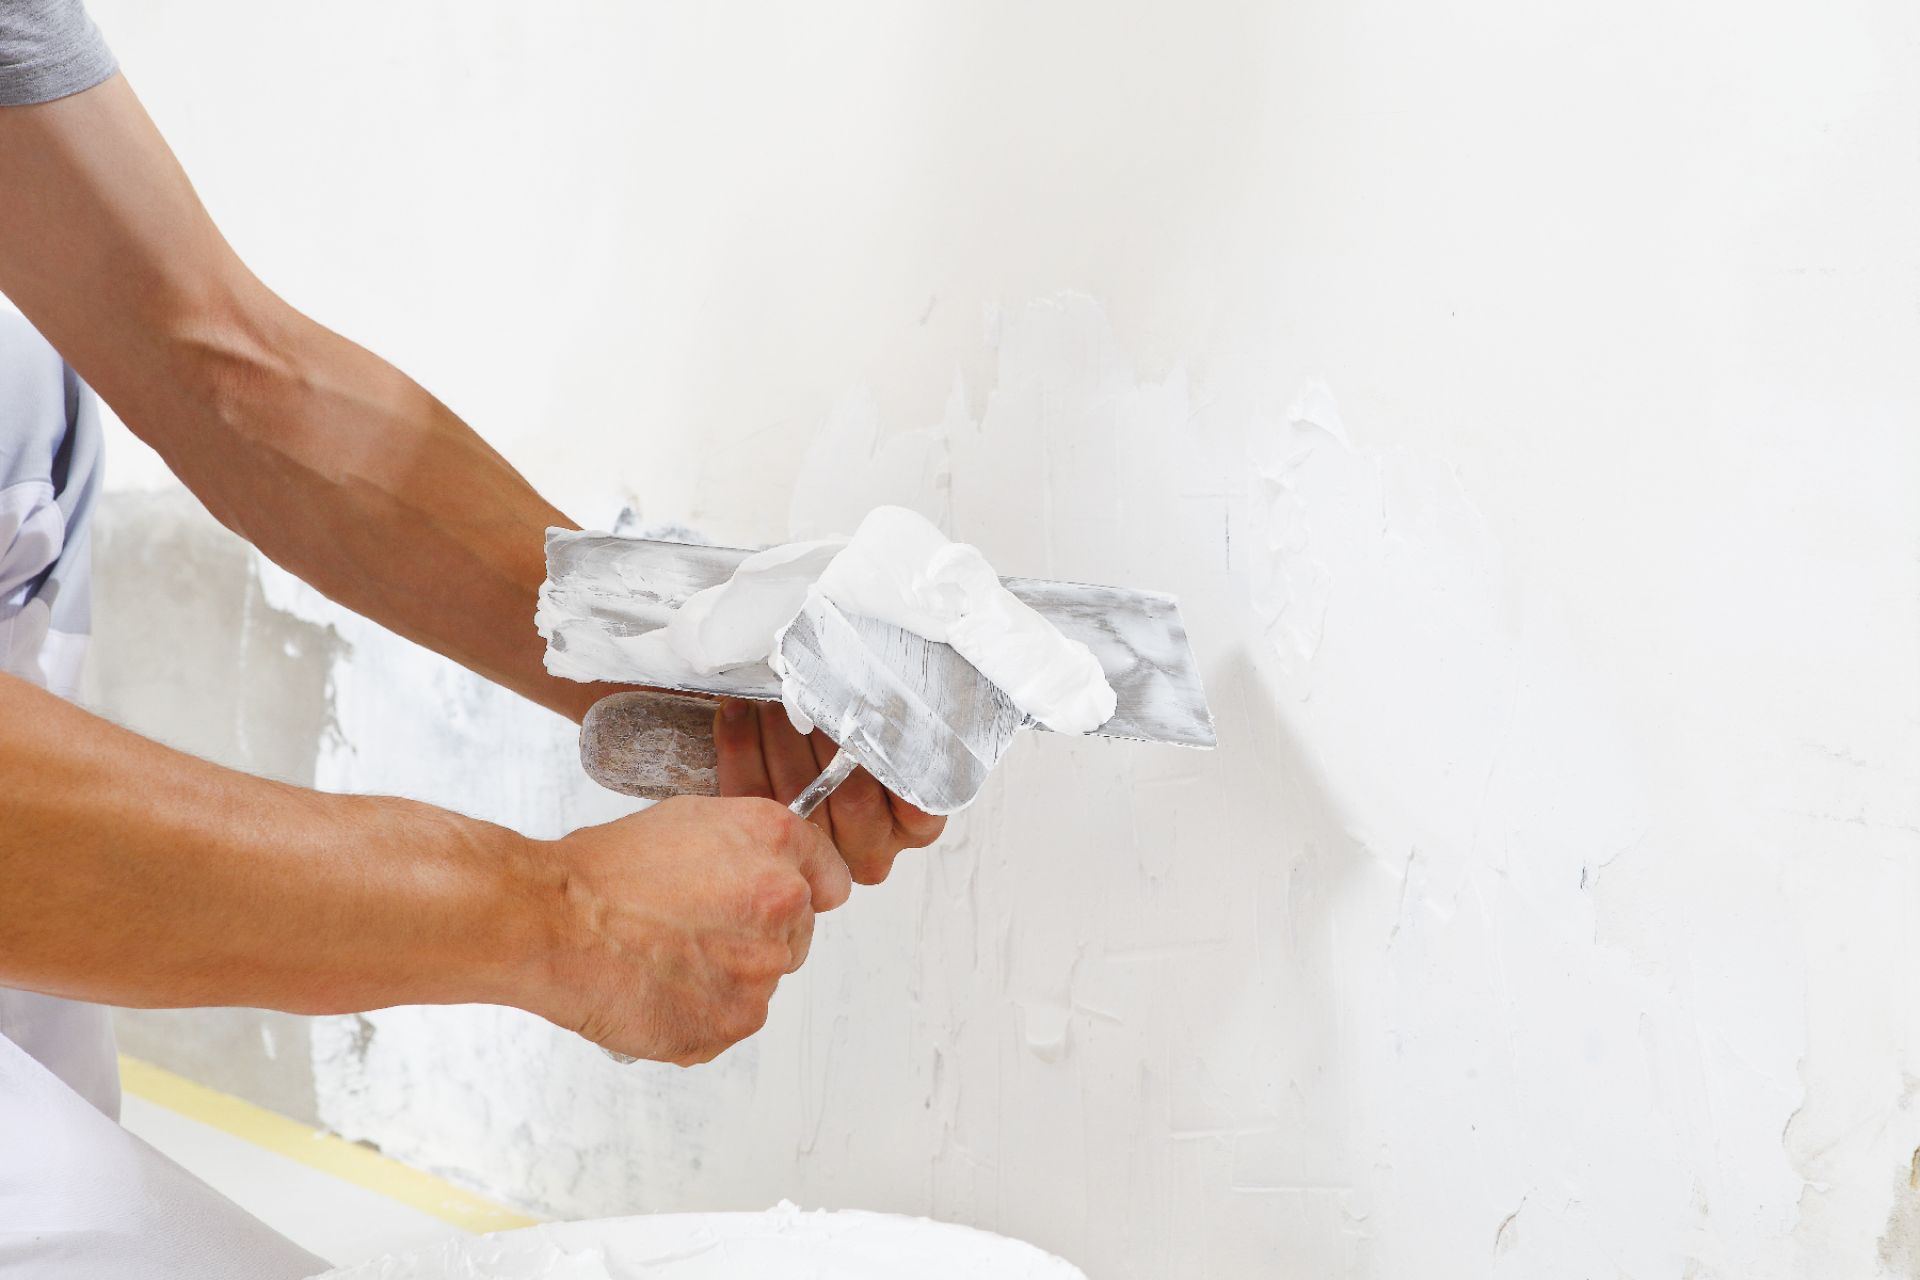
Surface preparation starts by first identifying the quality and type of surface you’re going to be painting. Let’s say you’re painting a wall that has been plastered. New plaster should be allowed to dry thoroughly before it is painted and decorated. It is recommended that newly plastered walls are left for a minimum of four weeks, although time may vary depending on environmental factors and the thickness of the plaster when it was applied. Check the walls carefully for bumps or marks that can be sanded down, as these will often become more visible once painted. Lastly, new plaster should be primed before applying any paint.
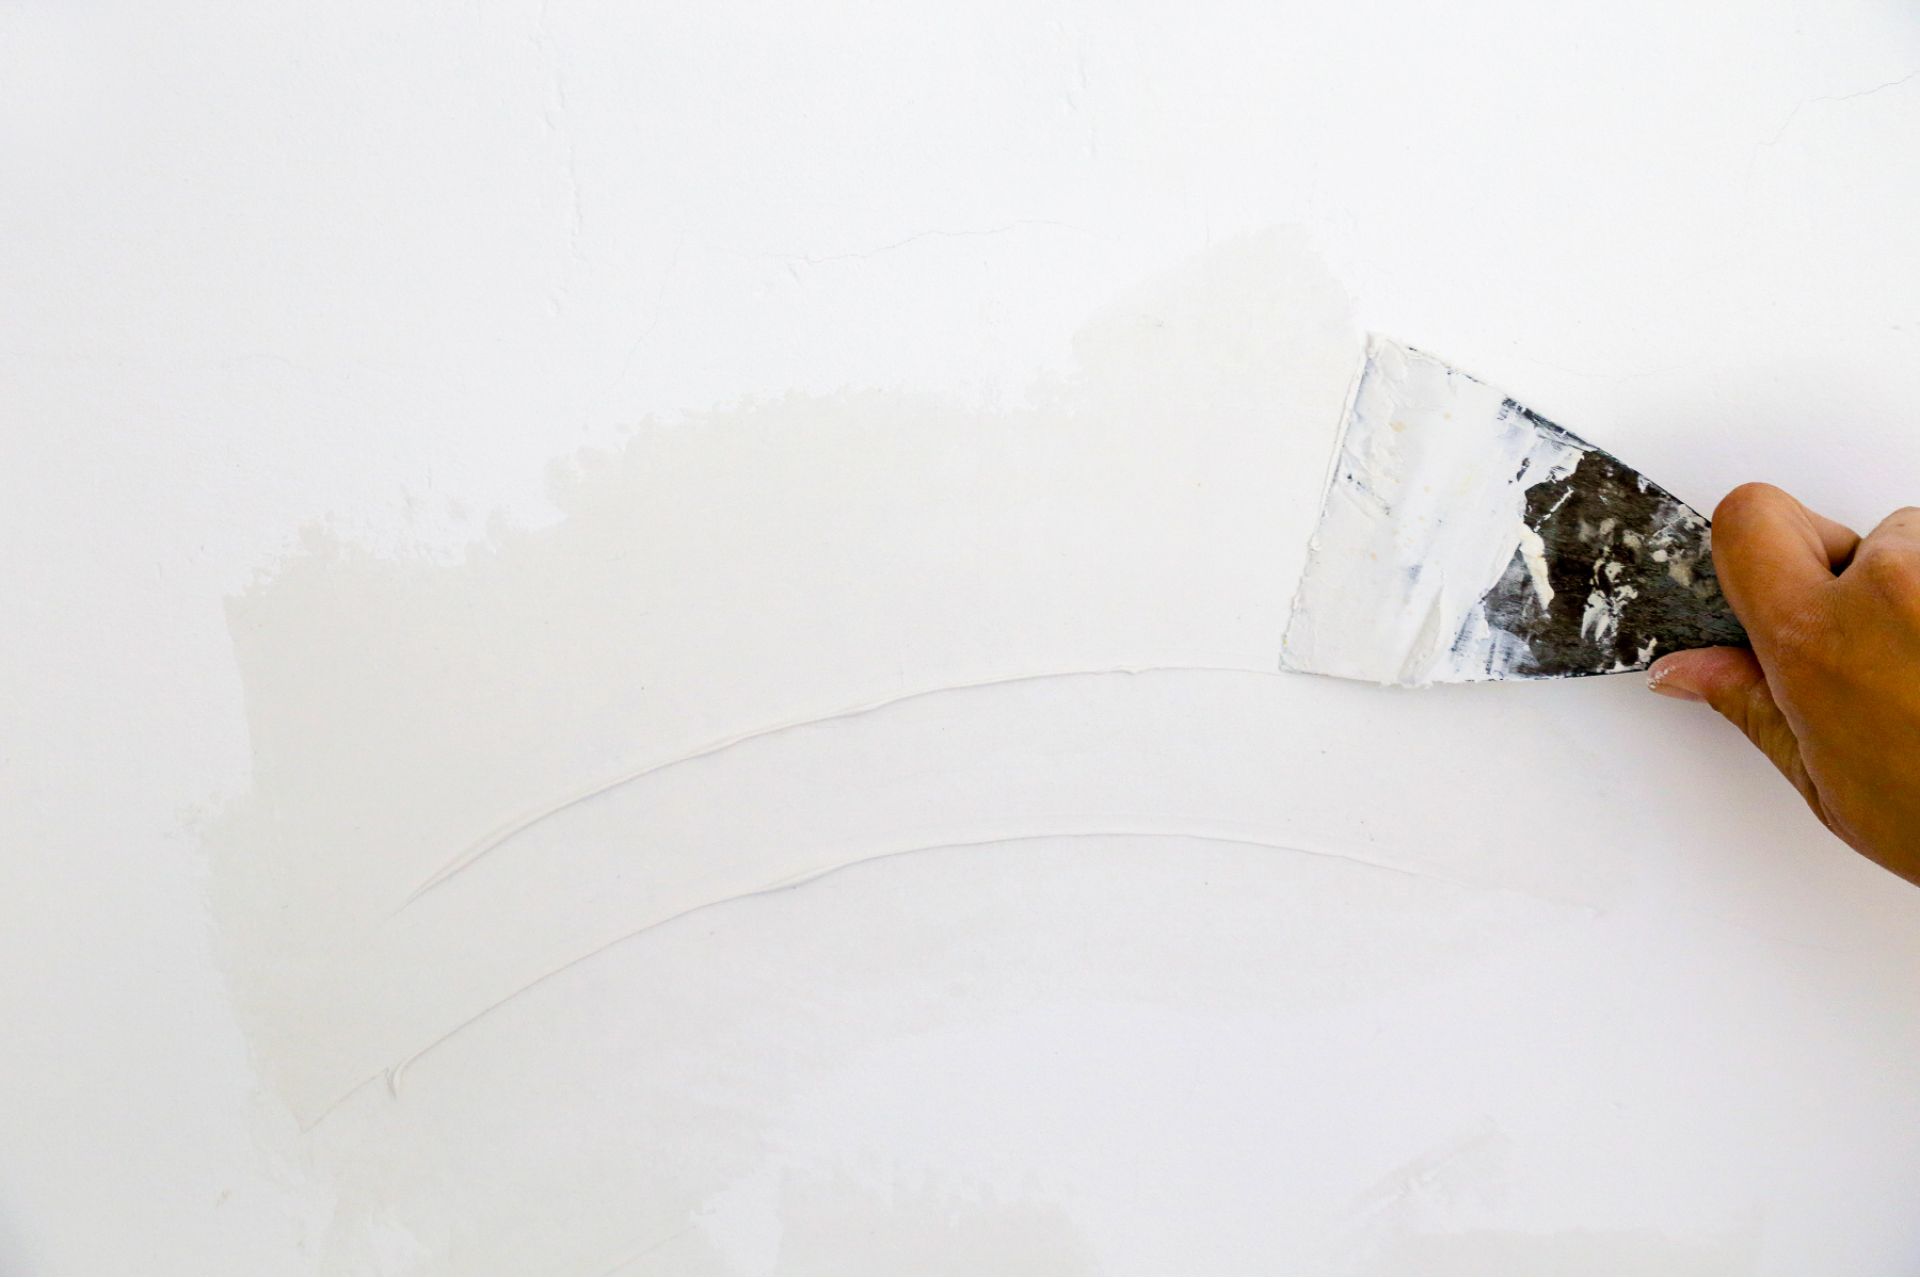
Older plaster might require less preparation, but this will depend upon its condition. Clean and dry? You’re good to go. Powdery? Hold the brush, you need to treat it with a coat of plaster sealer first. Once prepped it can be primed ready for painting.
Painted plaster should be washed down to remove any traces of dirt and grease. Gloss or semi-gloss painted walls must be rubbed down with sandpaper to provide a key for the new paint.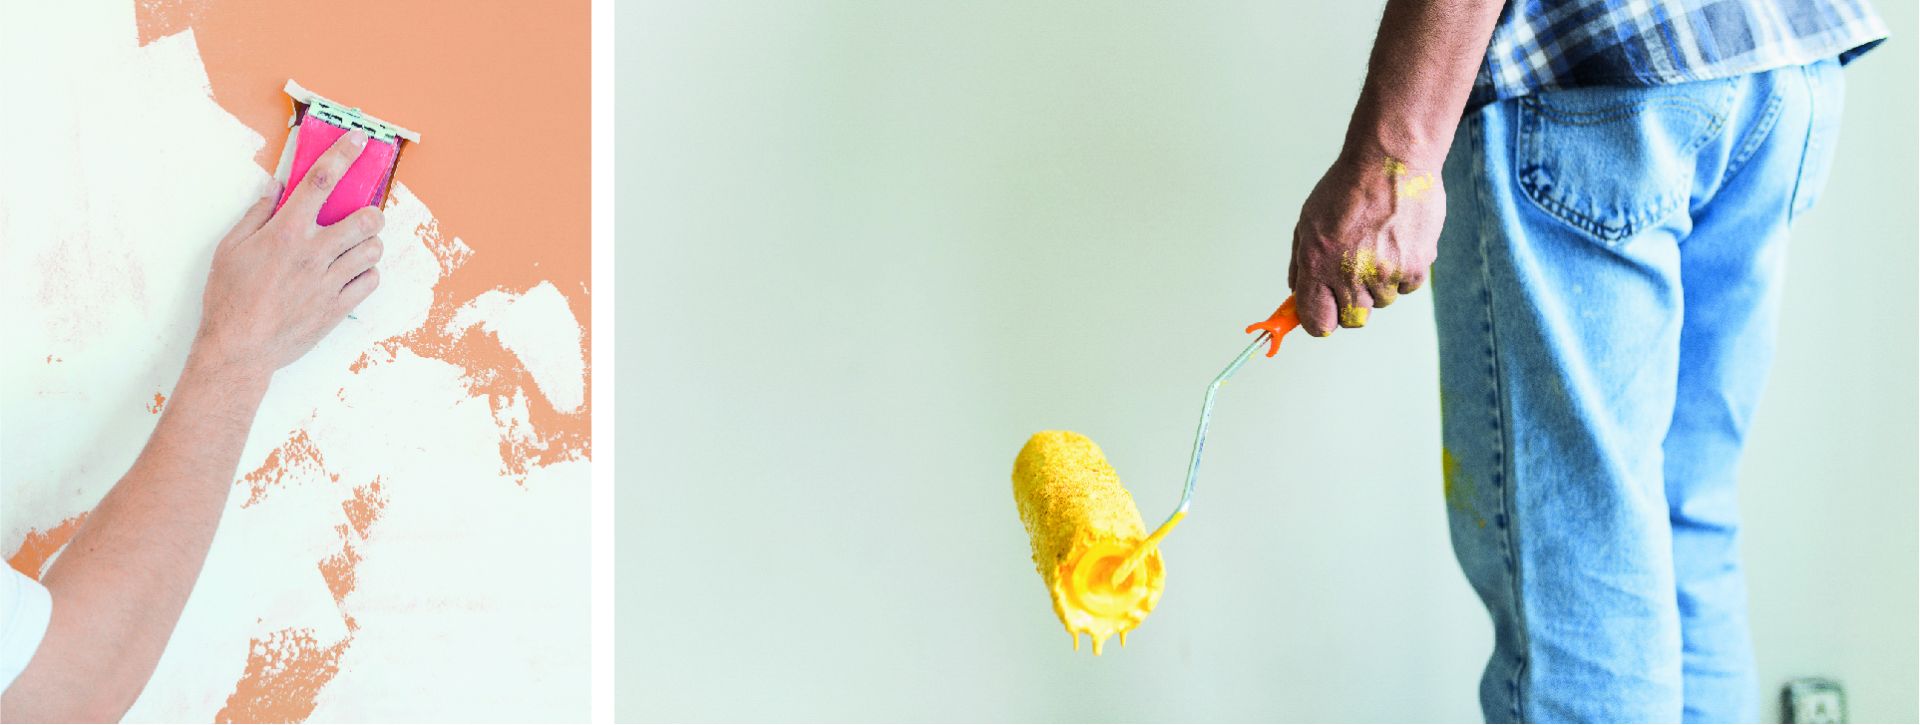
As you can see, there is much to ponder and act upon before you even consider opening that fresh, new can of paint; and we’ve only covered plaster, what about plasterboard, papered surfaces, or distempered coated walls? Thankfully, we have you covered on these too. Just head on over to https://avkointerior.co.uk/surface-preparation for detailed information on all the above.
Of course, should you have any questions or uncertainties, you can always email or call our friendly and helpful sales team for advice. You’ll find our contact details here: https://avkointerior.co.uk/contact-us
In the meantime, take care and happy painting!